
The Ultimate Batik Fabric Dyeing Tutorial– Plus Tips for How to Get Started at Home

This is a batik piece that a student made at my studio!
Batik is an eye-catching, awe-inspiring art form that has captured the hearts of creatives (like you and me) for thousands of years across many cultures. Likely, you have found yourself here because batik-dyed fabric has mesmerized you and you want to learn how to make a piece yourself. As the owner of WAXON, my batik and dye studio, I have spent years refining my process. I want to share my own step-by-step batik-dyeing process so you can get started today, right from home.
This blog is for my crafters who like to read their instructions. I am going in-depth here on the batik-dyeing process, which was part of one of my fun winter projects. I’m working on turning 4 yards of FWD 100% linen into a batik-dyed, hand-sewn dress. Prefer to learn by watching? I created YouTube video tutorials that follow me along the whole process from box to body!
Step 1: Unboxing, prewashing, and choosing a pattern
Step 2: Batik: stamping the beeswax on to the linen
Step 3: Batik: low water immersion method with fiber reactive dyes
Step 4: Batik: removing the wax and laundering the fabric
Step 5 - Sewing my batik-dyed fabric into a linen dress. → If you want to be the first to know when this video is uploaded, make sure to follow me on social media
What is Batik?
Batik is a style of surface design that uses wax and dye to create patterns on natural fabric. In this “wax resist” dyeing method, the artist will stamp or paint wax on to the fabric, dye the fabric, then remove the wax.1
This creates a negative of the design that you put on the fabric. Meaning, the wax design will be the color of the original fabric, and all the fabric around that will be the color of the dye. The artist can choose to repeat this process on the same piece to create a more intricate design.
There are as many patterns, styles, and techniques as there are artists and cultures practicing batik. This means that your opportunity to express your creativity through batik is virtually endless! Batik has a long and rich history across the globe and has been adapted by people on almost every continent.

Some of my handmade wooden batik stamps in my studio.
The History of Batik
According to the Batik Guild, batik is an artform practiced by cultures throughout India, Central Asia, the Far East, and the Middle East for more than 2,000 years. Historians haven’t yet agreed on the exact origins of batik, and many believe that it developed in different regions independently without the assistance of cultural exchange through trade, adding to its mystique.2
What Kind of Fabric is Best for Batik Dyeing? The Worst?
Best: As is true in general fabric dyeing, 100% natural is always the way to go. Cellulose fibers are fibers made from plants. Linen (from the flax plant), cotton, and bamboo work best to take the dyes. Other cellulose fibers such as rayon, viscose, modal, Cupro, and Tencel can be used as well.3 The dyes I use are designed for cellulose fibers, but I sometimes use them on protein fibers (silk and wool).
Worst: Synthetic fibers like polyester are not used in traditional batik because they can’t take the dye, and the wax won’t come out in the boil process. It’s a mess and a hassle!4
What Batik Tools and Dyes do I Need?
For the batik process:
Wax: Traditionally batik is done with beeswax, paraffin, or a mix of the two. I use 100% beeswax because I am breathing the fumes all day and don’t want to breathe paraffin, which is a petroleum product. (I go more in depth about various wax options in this blog if you want to learn more.)
Wax applying tools: There are a number of items lying around your house right now that you can experiment with! However, I want you to get that authentic batik look on your first attempt, so we are going to focus on traditional methods of wax application:
Hand-carved wooden blocks: The ones I use in this tutorial are specially made for WAXON Studio. But beware! Not all wooden blocks are made the same (learn more here), so make sure yours are made for batik.
A tjanting tool is another traditional application tool that can give you more freedom to create hand-painted designs.
Paint brushes can also be used to wonderful effect.
Electric skillet: Be sure to get one that has a temperature gauge on it, so you don’t overheat your wax and cause a grease fire!
*Pro-tip: As my mentors in India taught me, it is helpful to put your hot wax on your dominant-hand side. This helps to reduce the chance of drips and uneven stamping.
Induction burner: I find this is the best for wax removal, because you can set the perfect temperature (just under boiling) and hold it there.
Flat work surface: Ideally one that is made of smooth wood, and you are not too concerned about getting waxon :) it. Smooth wood means you can easily scrape the drips right up and reuse them! If you don’t have such a table, use a silicone baking mat. The wax comes right off.
For the dyeing process:
Fiber reactive dye: low impact, cold pressed dyes created for cellulose (plant) fabrics. Want to nerd out on what this means? Check out my Fiber Reactive Dye Blog to learn why these are the only suitable dyes for batik. (Hint: it’s about the dye temperature)
1 gallon bucket (or similar container)
Soda ash powder: this is what “fixes” or makes your dye permanent. It is this mild alkali that creates a permanent reaction between the dye and cellulose fibers without need for heat.
Small glass jar: such as a pint-sized mason jar
Plastic spoons (one long, as for stirring pasta, and one small, as for picnics)
Wooden poking stick (as for stirring soup)

Here’s my undyed fabric after I did all the batik stamping!
A quick note on the fabric I am using
In this tutorial I am using Fabric WholeSale Direct’s Yorkshire Natural 100% Linen in white and gold. It is 0.38mm, 225 GSM, and 6.7 oz per linear yard. That is a lot of technical jargon that means that this stuff is really, really nice, and quite sturdy. And 58” wide, which is so generous! I have been so surprised and pleased with the hand of this linen–you can just tell it's good quality. It's slubby and comfortably toothy with a very nice weight. It took the wax and dye beautifully and was very luxurious to work with. Once you practice on a few lighter weight cotton pieces (great for beginners), please do yourself a favor and try this yummy linen! See their whole linen collection here.

Here’s my finished yardage! Read on for the process in detail.
How to Batik Linen Fabric
Step 1 - Scour and dry HOT
Scouring (washing) the fabric is important because:
It removes any starches or oils from production so it can better absorb the dye.
It pre-shrinks the fabric.
I wash it hot with a squirt of blue Dawn soap.
I hot dry because I never dry clean. I machine-wash all my silk, bamboo, and rayon fabric, which pre-shrinks the fabric before I dye or sew it so I don't have to worry later about uneven shrinking on follow-up washes. (Some fabrics are prone to shrink more on the warp, some on the weft). This takes out all that unpredictability in shrinkage after the garment has been sewn that we have all come to worry about.
Want to learn more about my philosophy on the washout process?
→ Step 1: Unboxing, prewashing, and choosing a pattern
Step 2 - Apply the hot wax
Heat up the beeswax in your electric skillet until it's around 200-220°F.
Heat the wood block in the wax for about 60 seconds to melt out the cold wax inside the pores of the wood.
Lift it up, and carefully give it a sharp downward flick with your wrist to release the excess wax back into the melter.
Then immediately press it firmly and flatly to the linen fabric.
The goal here is to have the wax go all the way through the fabric to the back to create a solid resist area where the dye can not penetrate. (Kind of like how water and oil don’t mix, the beeswax fills the fabric wherever you stamp it, so those areas will resist the dye.)
**Pro-tip: Not all wood blocks are designed to pick up and deliver hot wax (in fact most of them on the market are for other types of crafts). There are a few key things that make a good batik block that make WAXON’s Woodblocks perfect for the job. In this tutorial I am using the Rays Topper, which is part of a set of 4 in the Swedish Garden Collection. These were actually designed by the women who carve these blocks for my studio!
Want to watch me do this process for more tips?

A glimpse of freshly carved woodblocks for sale at my studio (find them online here!)
Step 3 - Dye your linen batik
I choose to do low water immersion dyeing with fiber reactive dyes because:
It is an easy, quick way to dye that saves water
It creates really lovely organic variations in color
Remember:
Don’t judge a dye bath by its wet form! The color will definitely be different on your finished piece :)
Home dyeing is challenging if you're a perfectionist, but if you let the organic nature of these fabrics and the dyes do what they do, then you are going to have a good time! Just be open to letting your results surprise you.
Step by step:
Fill the bucket with just enough water to cover your piece (just eyeball it)
Add 1 tablespoon of dye powder into your glass jar.
Dip the glass jar into the bucket to add a little water to your dye powder.
Stir until you have gotten all the dye powder to dissolve fully.
Add your fully mixed solution into your bucket of water and stir thoroughly.
“Activate” the dye by mixing in ½ cup of soda ash. Pour it into your dye mixture slowly, while stirring with your long plastic spoon. Make sure to run the spoon around the corners of your bucket to get all the soda ash fully mixed in.
Add in your fabric while pushing it down with the spoon to remove any dry spots*. (I like to think of this as “burping” the fabric.) The less you mess with it, the more variation you get in the color, which is the look we are going for.
Let the fabric cure in the dye bath for 24 hours (no need to stir).
Wash the fabric out in cool water until the water runs clear.
*Pro-tip, if the fabric won’t stay below the water, fill your glass jar with a little of the dye liquid and set it on top of the fabric like a weight
Want to know more about this method?
→ Step 3: Batik: low water immersion method with fiber reactive dyes

A batik student in one of my workshops, after dipping her piece in dye.
Step 4 - Boil out the wax
I am going to teach you the boil-out method because it helps you save:
Time by removing wax from several different items at once
Water as you can continue to use this same batch again and again
Money by allowing you to re-use your wax
Plus it completely removes the wax, leaving you with a very soft waxless finished project!
And it is fun and satisfying to break, peel, and lift off the cooled wax!
Step by step:
Set the burner to just below boiling. You want a simmer. If you have an induction stovetop like I do, set the temp to no higher than 210°F.
Slowly add in the fabric– don’t overload the pot. You need plenty of room for the fabric to move in the water, in order to release the wax to the surface.
Once the water starts to simmer, you will see the wax melting off and rising to the surface of the water.
Use your poking stick to agitate the fabric, stirring and prodding, while also keeping the fabric under the wax.
Once you suspect all the wax has come up to the surface, turn off the pot and let it cool overnight, making sure the fabric stays below the surface. .
Once fully cooled, enjoy the satisfying feeling of popping the wax “cookie” (or cookie pieces, depending on how much wax was in the fabric) from the top of the pot.
At this stage, hopefully, any remaining wax pieces are beaded up on the surface of the fabric and can be removed with a good shake outdoors. If you see that any part of your design has wax IN it, instead of ON it, you can boil it again.
Wash and dry your (fully wax free) batik dyed work of art!
There is a lot of nuance to this process, as you may have discovered.
→ If you want a more thorough explanation, hop on over to my blog - The Ultimate Guide To Batik Wax Removal From Fabric.

And that’s it! That is all you need to design, batik, and dye your very own piece of art!
But holy moly that might feel like a lot to learn, or like there’s a ton of steps?
If you are feeling excited to get crafting but not sure how …
Here is where to start:
Grab your wood blocks that are perfectly made for this: WAXON Batik Woodblocks
Choose a lightweight woven cotton muslin to practice on
Set up your workstation so you can see these instructions easily
Just start! Let go of any self-judgment or perfectionism and let your creativity flow!
Maybe it is Time for a Batik Making Class
Creating batik with these wood blocks is a pleasure I wish everyone could know, and I am here to help you get started.
Local to Asheville, NC? I have classes in my brick and mortar studio and at various craft schools throughout the year. Head to my booking page to schedule.
Want to learn from home? I will be opening up my next round of online batik classes soon. If you want to be the first to know when they open, sign up for my newsletter.
Follow me on socials: Instagram & Facebook
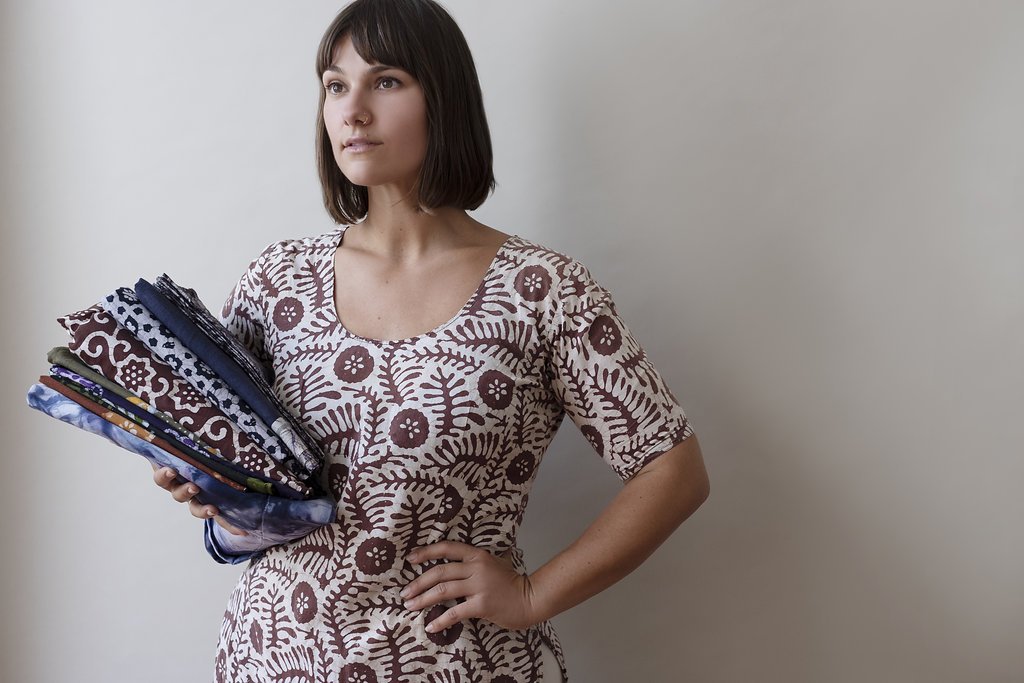
Dressed in handmade batik, with some of my precious fabrics. Photo by Nicole McConville.
Benefits of studying with me:
Clear and concise teaching with in-depth knowledge of batik and dye
All the tips and tricks I have learned from nearly 20 years of experimentation
The juicy tidbits and interesting facts I have picked up through my lifelong pursuit to unite the ancient with the current through deep study of the materials of the natural world; how they are found, grown, processed, and worn through time
My breadth of knowledge in related crafts of sewing, knitting, felting, spinning, and weaving
So, you have followed this guide and created a few pieces, but you are craving the next step.
Maybe you are ready to leave behind your small beginner set-up and tight kitchen…
Or maybe you are tired of trouble shooting your own issues and want some help from a professional.
Or you are just ready to learn more, perfect your method and move past the beginner stage.
Just imagine what it would feel like to experience a fully equipped batik and dye studio that has a large selection of stamps and so, so many dyes to choose from, plus your own personal guide.
It is all waiting for you, at WAXON.

Fun learning hands-on batik at my West Asheville studio!