Ice Dye vs. Tie Dye: Which One Is Right For Me?
This is a question that I get all. the. time. Sometimes, it’s when folks walk in the door of our retail shop and start admiring certain things, and I say “oh, that’s ice dye,” and they have no idea what I’m talking about!
Or, someone wants to book a class. They have done tie-dye before, but they aren’t really sure what ice dyeing is or what the differences between tie dye and ice dye are.
My favorite is when people say, “you know, I usually don’t like the look of tie dye at all but I love this — what is it??” (Spoiler: it’s ice dye. You like ice dye. And I mean, who doesn’t??)
So, in this post I will be talking all about ice dye vs. tie dye, and which one is right for you.
What Is “Ice Tie Dye”?
When we talk about ice dye vs. tie dye techniques, the most important difference is in how the dyes are prepared and applied to the fabric. I’m going to explain all of that to you, because it’s something I talk about daily. It’s about time I had a written page to send to students & clients too!
The very bottom line is: when dye artists say “tie dye” they usually mean bottle dyeing. Or liquid dyeing, same thing. You take dye powder and mix it thoroughly with water in a squeeze bottle. Then, you apply that liquid dye directly onto your item, for example a shirt.
In ice dyeing, you don’t have to mix the powders with any water at all. You simply sprinkle the powder on top of (or under) ice cubes with a shirt at the bottom! Of course, there are important details to get right, especially in regards to the chemistry of the dyes and the soda ash (which is the fixative).
I will be laying that out clear as day in the next few sections. But, that’s the very basic knowledge you need to have: there’s tie dyeing with liquid dyes, and there’s tie dyeing with powdered dyes.
Since you need water somewhere in the process, why not use frozen water and let the melting ice cubes make the colors do the work for you? So really, ice dye is tie dye. But with ice dyeing, the dye is in powder form and the is water in frozen form.
Reasons and Applications To Use Ice Dye vs. Tie Dye
I’ll be really honest here, I was strictly a tie-dye (bottle dye) artist for years and years. I was great at it, I loved teaching it, and training others to teach it.
I loved the work that I made and the work that my students and staff made. But, the moment I washed out my first ice dye, I was changed forever.
This is what I was looking for. Incredible color splits, deeply intricate patterning even from simple folds, and it just looked so modern! As I aged from my twenties to my thirties, I wanted less of “the tie dye look” and more of a hand-dyed look.
The process is so similar and yet the outcome is wildly different, and dare I say, better? I’ll leave that up to you. Here are the reasons and applications to choose ice dye instead of tie dye.
Reason 1: Ice Dyes Have More Depth Than (most) Tie Dyes
There are bottle-dyeing masters out there who create mind-bendingly layered looks for tie-dye. But, I’m talking about most tie-dye.
When you ice dye, you can get results ranging from super soft, subtle and watercolor-like. This can include anything from flowering fields of shades & hues, to intensely psychedelic and intricate puddles & patterns.
The reason ice dye looks so much more interesting is because as the ice melts, the dye powders are slowly being distributed and carried with the water molecules. Each color gets the chance to “split” into all its component colors.
In bottle dye, the colors are solids. Sure, they’ll mix and blend on the fabric, because they’re liquid — that’s what liquid does. But in ice dye, each color itself is splitting into different colors, in a much more organic way.
Let’s take my favorite example, Raven Black from Dharma Trading Company. Mixed with water, it’s just… black. But, since black is the presence of all colors, when the ice melts and the black splits, you get to see all kinds of colors emerge! It’s magical.
The thickness of the fabric, whether it’s woven or knit, the fiber content, and even the type of ice you’re using all factor in to make a wide variety of looks. You can use the same colors on two different pieces and get really different results! I compare it like this: tie-dye is coloring with magic markers, and ice dye is painting with watercolors. What do you think?
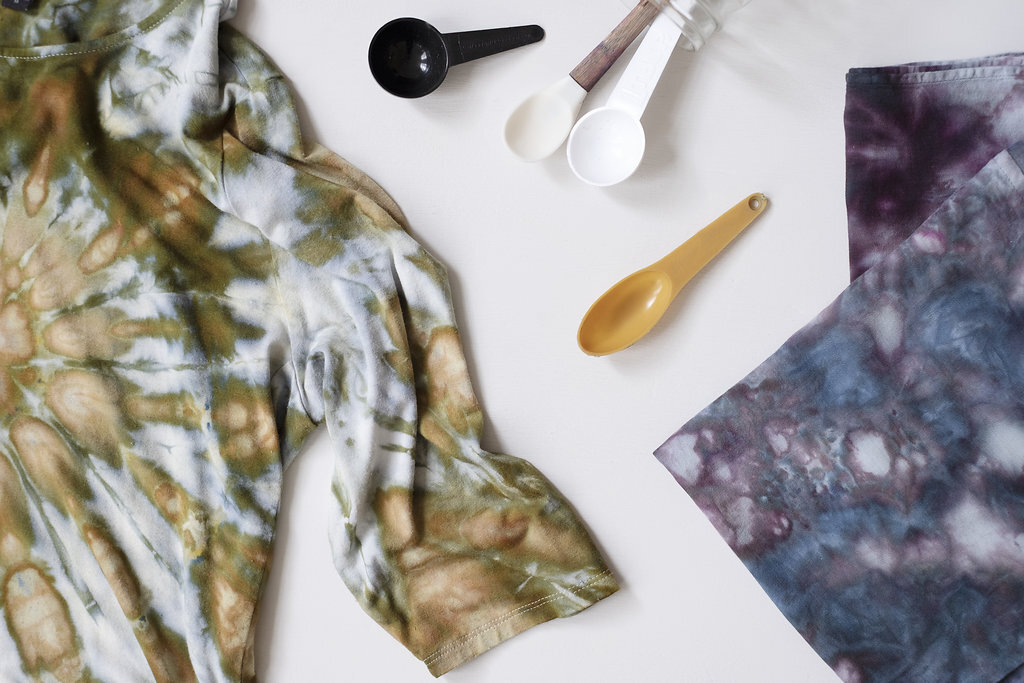
Only Raven Black was used on this ice dyed bamboo shawl by @waxonstudio. Photo by Nicole McConville
Reason 2: Tie Dye Patterns Look Even Cooler with Ice
Think of a very basic tie-dye pattern, let’s use the bullseye for example. The very essence of a 1970s costume party, the bullseye is done by lifting the fabric up and basically pony tailing a rubber band or string around the section you want to be a circle.
That’s called a resist. The dye will resist the part of the fabric you bound up. It’s harder to flow into that area. You can bind lots of circles, or make concentric circles, your choice! It’s an ancient pattern, seen all over the world from Japanese Shibori dyeing to teeny intricate Indian Bhandani.
But, when you do it in ice dye… wow. We call it the geode, because you’re combining the pattern (how you lifted & bound the fabric) with the watercolor-like splits of the dye molecules, while moving slowly with the melting ice.
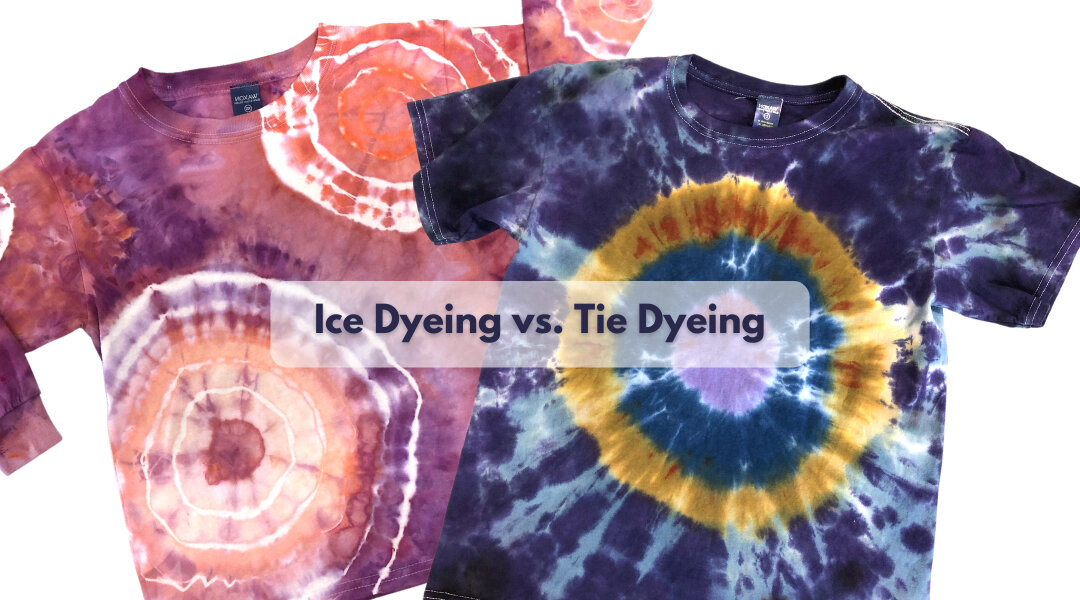
Then, bam: each line and space looks like slices of a gorgeous geode crystal. You have now launched yourself into the next stratosphere of tie-dyeing. Check out this example of a typical tie-dyed bullseye compared with the exact same technique but done with ice dyeing.
Reason 3: Save Time, and Use Less Dye Powder
When we bottle dye, we typically use at least 1 tablespoon of fiber reactive dye powder to one 16 ounce squeeze bottle. The exact amount depends on the recommendation of the manufacturers of that specific dye and also the color. Some colors need more dye, like your darkest colors. They can require up to 3 tablespoons of powder for the same size bottle!
That can really add up cost-wise. With ice dye, you’re sprinkling the dye powder over the top of your project. You can get incredible results from using just the smallest amount of powder.
In our ice dye kits, we ask people to think of “powdered sugar on a beignet” to judge how much they’re sprinkling. (Or powdered sugar on a funnel cake, we don’t judge.)
I have found that some of our best ice dyed pieces use less than a teaspoon of dye powder, and that’s just economically so much better.
Also, think of the extra time it takes to mix a bottle, let alone several bottles. You will definitely be doing this with liquid tie-dye.
What about the mixing time for ice dyeing? It’s not even a factor. You just open the jar and start sprinkling (read below for specifics on that). Want to add another color? No extra bottles or mixing time needed. Ice dyeing uses less dye, less time, and less water!
Reason 4: Option to Skip the Soda Ash Soak
Now, this one can really raise some eyebrows in the dye community. Soda ash is the holy grail of important steps in the fiber reactive dye process.
It’s extremely important for raising the alkalinity of your dye reaction site. Whether it’s coming from a bottle, from a powdered dye, or you have made a dye bath, it is essential to getting your colors to be saturated, fade-proof, and not bleed in the wash (or on your body!).
Soda ash, or sodium carbonate, is a powder that is easily mixed with water and creates a very alkaline, slippery situation that fiber reactive dyes love.
In tie-dye, you pre-soak your item to be dyed in a soda ash bath, or soaking solution. Then, you wring it out, bind your item, and start applying the dyes. The reaction happens as the dyes hit that very alkaline fabric.
You can absolutely do it the same way with ice dyeing, and most of the time, I do. At WAXON Studio we have a big soda ash soaking tub and our items to be dyed go in there. They get wrung out later, before being put into containers and under the ice. (We’re muck dyers — more about that later).
However, and here’s the big secret: you don’t have to pre-soak when you ice dye. What?! I know. For old time dyers this feels like heresy. But, when I was inventing the dye shakers that we send out with our kits, I wanted to test out a new method.
I mixed the soda ash powder right in with the dye powder, to eliminate a messy, and possibly confusing step, for first time dyers following our kit instructions at home. I tried it out in the shop, and lo and behold— it works!
You can choose whichever method makes you most comfortable, pre-soaking or just sprinkling on. Yet another reason why ice dyeing is superior to tie-dyeing.
How To Tie Dye With Ice
Now we get into the meat of the how to section! This will be a much more brief version of my comprehensive Online Ice Dye Course. As a disclaimer, I always relate the art of dyeing to the art of painting.
Even within the specific world of oil painting, for example, you’ll find as many different tricks, tips, and techniques as you’ll find people who use oil paints. One person swears by ABC, and another person never does that, they always do XYZ.
Ice dyeing is like that! In my years of dyeing I have yet to find anyone who does it exactly the way I do it, or the way another dye artist does it. That’s the magic of ice dyeing.
Start experimenting and come up with your own little tweaks that make your work look like no one else’s. With that being said, here’s our process that we use at WAXON Studio!
If you prefer, you can download our handy ice dye process pdf here, we got you!
Step 1: Prepare Your Fabric
What are you going to ice dye today? Fiber reactive dyes are formulated to work best on cellulose fibers. That means you should choose something that’s cotton, linen, hemp, rayon, bamboo, etc.
Now, give it a pre-wash (called a scour). You don’t want any dirt, oils, fabric softeners or starches left on the fabric. Even if you pulled it out of the back of your closet and it hasn’t been worn since the last time you washed it, give it another wash in hot water.
Step 2: Soda Ash Soak (or sprinkle it on later)
Are you going to do the traditional soda ash (SA) soak? If so, mix 1 cup soda ash powder slowly into 1 gallon of room temp water. SA loves to clump, so pour it in slowly, and always add powder to liquid, never liquid to powder!
Stir, stir, stir with a long handled spoon and try not to get it on your skin. SA isn’t toxic, but it is highly alkaline. It can make dry skin even drier.
It burns like heck in your paper cuts and cuticle tears. Some people even report developing an “allergy” to SA over time with lots of exposure. So please, glove up and don’t inhale the powder. You’ve got a mask (thanks, 2020) so pop it on. Better safe than sorry.
After soaking for a few minutes up to several days, wring out your item thoroughly.
Skipping the soda ash bath? Go ahead and soak your item in regular tap water and wring it out like crazy. You want all the drips to be wrung out.
Step 3: Fold, Bind, Twist, or Tie Your Pattern
Oh, patterns! There are so many and I am not teaching them here. Whether you choose a simple scrunch or a complicated fold, now is the time to do that.
You will use rubber bands or a strong string (we use faux sinew) to tie or band your pattern into place. Your item will cooperate because it’s been thoroughly dampened and wrung out. Damp fabric holds patterns much better than dry fabric.
Step 4: In The Muck or On The Rack?
There are two main types of ice dyeing, in the muck (a container that the project sits in while the ice melts), or on the rack (so that the icy dye water can drip through and away from your piece, usually into another container or the sink).
There is not one better method than the other. It’s just personal and artistic preference. At WAXON Studio, we are muck dyers 99% of the time. Try a few experiments and see what you like better. There are benefits and drawbacks to both.
Step 5: Dye Over Ice or Dye Under Ice?
There are also two main types of dye powder application. There is ice first, with dye on top. Or, there is powder first with ice on top.
At WAXON, we are dye-over-ice 90% of the time. For me, the only time to put your powder down first is when you need specific colors to be on specific places.
I find I get less freckling (solid bits of dye powder that never get dissolved) when I sprinkle powder on top of the ice. But, many other ice dyers swear by powder first, and their stuff looks great!
Some people even love the freckling and want to get more of it. Try a few experiments and see what you like better. You might really like the look of one over the other.
Step 6: Apply Ice & Dye!
If you skipped the soda ash soak, now is the time to make sure you’ve got it on hand. I like to mix the soda ash with the dye powder for all-in-one sprinkling.
Or, you can do one first and then the other. If you did the soak in soda ash method, you’re all good, no need to add any extra.
If you are doing dye first, go ahead and do a light dusting of your colors (plus soda ash, if you skipped it earlier) all over your piece. Then, cover evenly with ice cubes.
If you are doing ice first, like I do, create an even layer of ice cubes, enough that there are no “bald spots” where you can see naked fabric through the ice. Once you have enough ice, go ahead and sprinkle your colors (and soda ash, if you haven’t yet soaked in it) all over your piece.
Now, I know there are questions here.
What colors do I use?
What kind of ice is best?
How do you do a rack set up?
If I got into all of the details this blog post would be a million miles long!
This is a great time to explore some of the resources I have available.
A free class on how to use fiber reactive dye powders 3 ways, or…
You could opt for my super content-packed Online Ice Dye Course, or…
You could subscribe to my newsletter, the Dyenasty, where you get free tutorials every month on a whole range of dye topics.
Okay, back to the steps.
Step 7: The Waiting & The Washout
After you have got ice, dye, and soda ash all up in there, and you are doing this either in the muck or on the rack, and you are super sure your piece isn’t made of anything synthetic that won’t take the dye, it’s time to wait and let ice do what ice does.
Melt slowly, while refusing to give up any of its secrets about how it’s all going in there.
Trust the process! Don’t poke at it, mess with it, try to make it melt faster or slower, or pick it up and move it somewhere else. It’s best to just leave it be.
You’re going to ignore the whole thing for at least 24 hours, some even say 24 hours after the ice is melted.
I’m not always that patient, but you should try to be. The dyes need to cure at room temperature, for about 24 hours, so take that into consideration.
Once the time is up, dump that baby into the sink and start rinsing with cool water. Rinse both your project and the container/rack. Set the tools away to dry.
Rinse fabric until water runs mostly clear, taking off any rubber bands or string in the meantime. Fiber reactive dyes are safe for city sewer or septic systems.
Make sure everything is rinsing clear. Squeeze your project, flip it inside out, squeeze it, and examine the water that’s rinsing out. Satisfied?
Next, with much hotter water, add a small squirt of dish soap (blue Dawn is best), and hand wash again until water runs clear. If it’s running clear now, you’re in the clear!
Your ice dye is ready to be dried and worn, and from here on out it can be laundered as you would all other cottons. I wash my dyed items along with all my other laundry because I trust the process.
It’s never let me down (yet), and I have dyes I made almost 20 years ago that are still looking saturated and fabulous.
Can I Use Snow For Ice Dyeing Or Tie Dyeing?
Yes, you can do snow ice dye. Snow dyeing is so much fun. What is snow, after all? It’s frozen water, ice cubes on a microscopic level.
To do snow dyeing at home, set up everything in the steps above exactly as listed until step 6, and use snow instead of ice. You get gorgeous results with snow dyeing, and yes, it can look a little different than using big ol’ ice cubes.
It’s hard to even say what the difference between using snow and ice really is because there are so many factors that make ice dyeing results morph and change. Embrace it the next time you have a snowfall.
You can’t really use snow for bottle tie-dyeing, unless you melted the snow into water first. And, really, why do that? Unless you don’t have access to or want to use your tap water.
Ice Tie Dye Kits
When the pandemic hit and everyone started staying home, I was so grateful that I had already developed, sourced components for, designed and tested our Ice Dye Kits. At the time of our first kit’s launch, back in February 2020, there was only one other person selling an ice dye kit on Etsy besides WAXON.
Now, there are almost a dozen different brands doing the same thing, and certainly that number is growing weekly. Imitation is the highest form of flattery, you know.
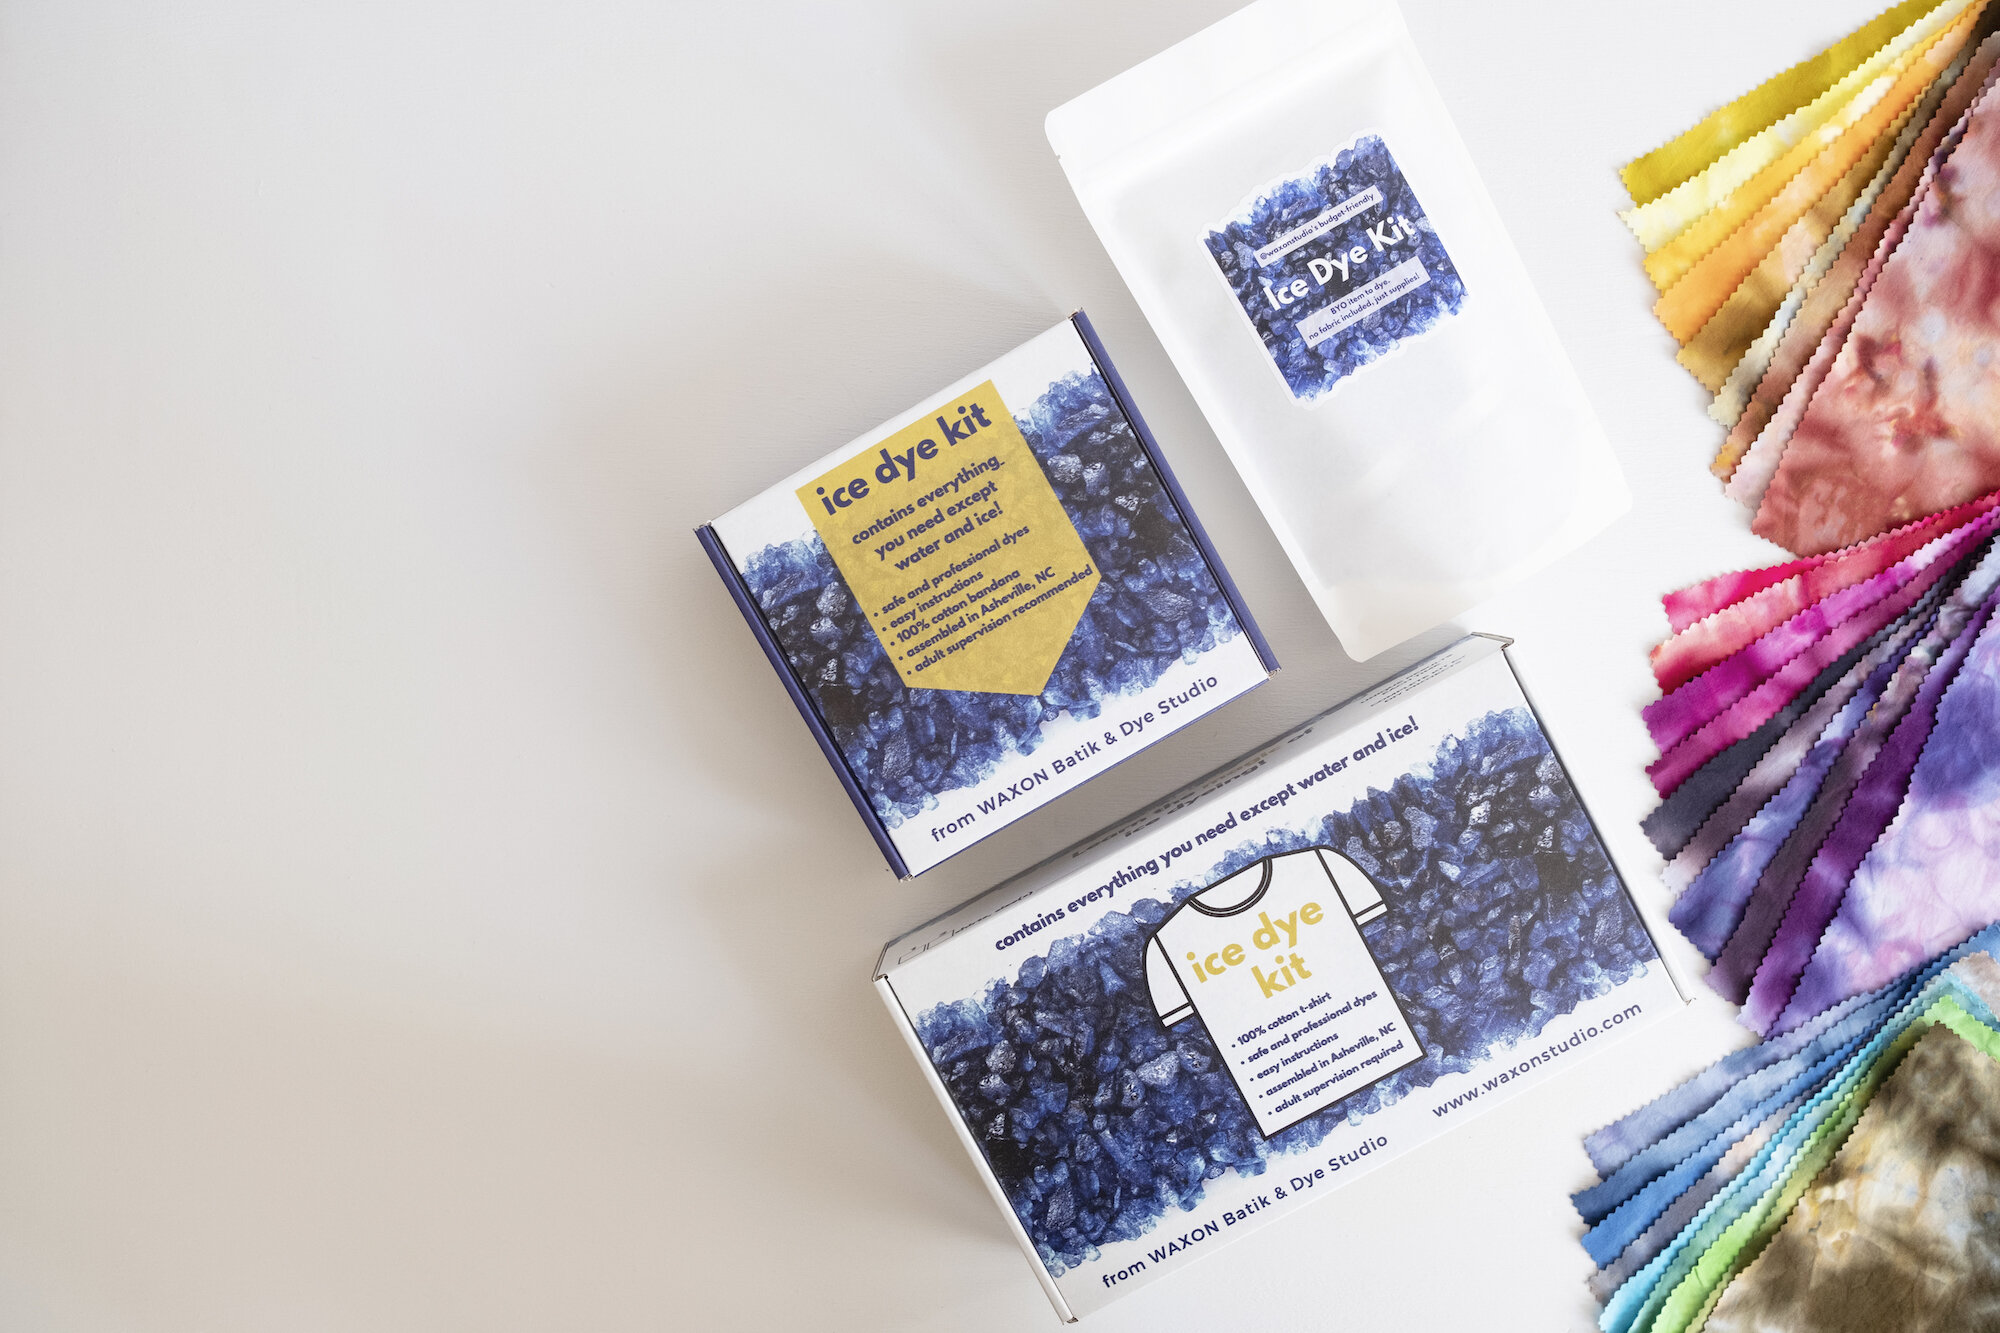
We launched our Bandana Ice Dye Kit first, which comes with everything you need to learn to ice dye. It includes an organic cotton bandana sewn for us locally here in Asheville, and the container you dye it in for muck dyeing (we’re the only company that includes the container, as far as I’ve seen so far).
Next, we added a T-Shirt Ice Dye Kit that lets you add up to 3 shirts for a family or party pack. We scour (pre-wash) the shirts before sending them to you, so there’s nothing extra you need to do to them.
The humble Budget Ice Dye Kit is by far our best seller. The idea came to me randomly one day. Why make people pay for an item to dye when what we really love is when folks upcycle items they already have?
Who doesn’t have an old t-shirt, art apron, or pair of cotton undies that could use an upgrade? We reward you for providing your own dyeable item, by knocking a big chunk of change off the price for this kit.
And of course, as total color addicts, we let you choose any/all of our 28 Core Colors to add onto each kit. Best of all, our shakers come with the cutest little labels that show you how the color splits!! I mean, really. Can you tell we love ice dyeing or what?
Each of our ice tie dye kits comes with:
-professional fiber reactive dye powder in a convenient shaker
-soda ash activator already mixed in the correct ratio
-rubber bands & gloves (budget kit skips the gloves)
-complete instructions for ice dyeing
-complete instructions for washout
-our gorgeous 2-page patterns tutorial, with our six favorite patterns, in order of difficulty
-either a sweet freebie sticker or beautiful button, depending on when it was packed. We love freebies.
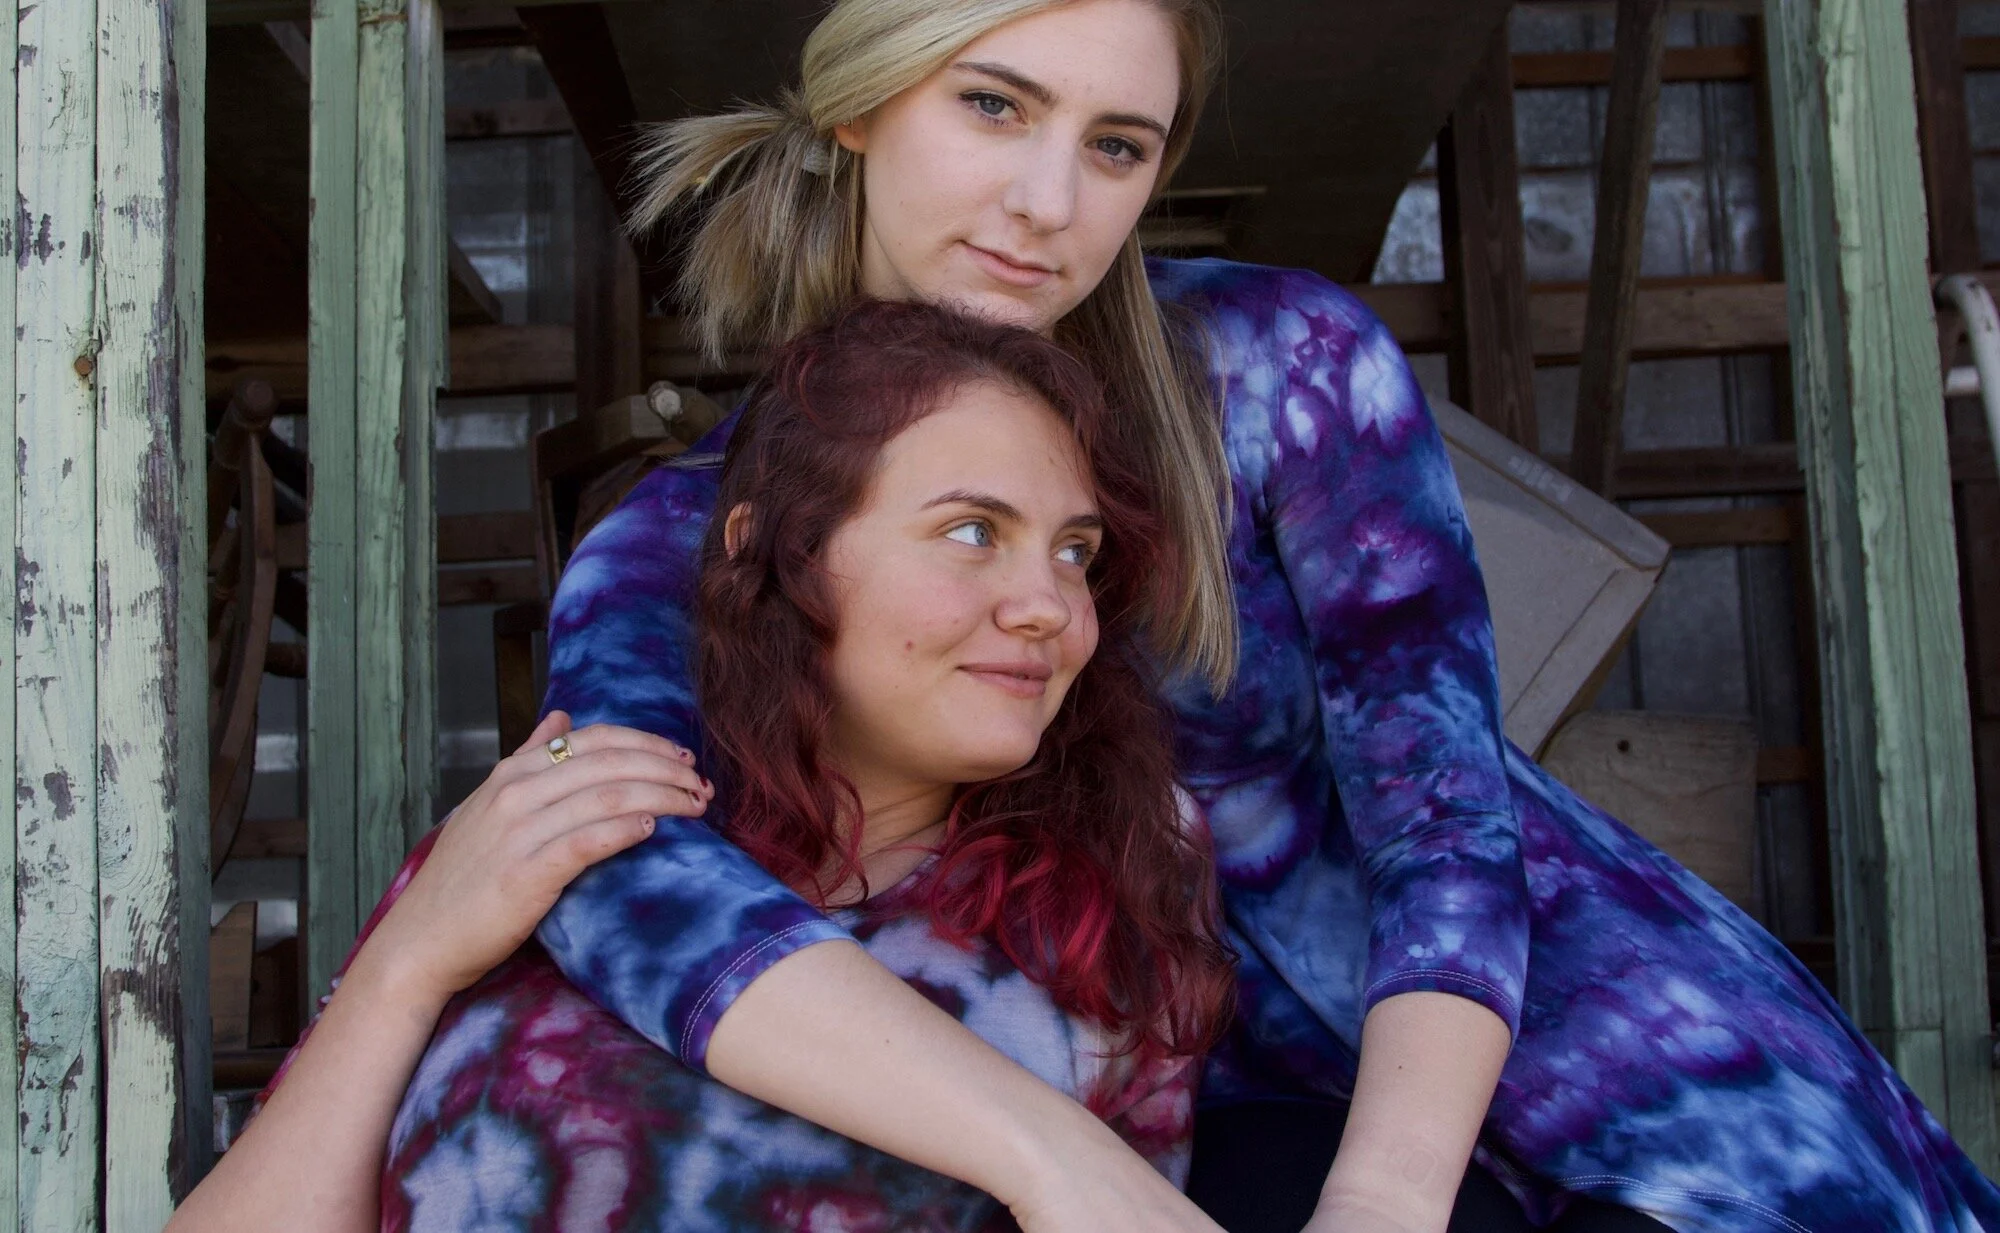
Ice dyed bamboo dresses by @waxonstudio. Photo by Nicole McConville.
Conclusion: Which Is Best, Traditional Tie Dye Or Ice Dye?
By now, we all have to admit that we know where my allegiances lie in ice dye vs tie dye. At the time of writing, and for at least the last five years, ice dye is the technique for me.
I’ll never not love tie-dye, since that was the dye form that got me started on my journey way back in the early 2000s. And of course, Shibori, low-water immersion, and batik are all close to my heart, too. I’ll never give any of them up!
Ice dyeing offers a more grown-up, modern, and sophisticated watercolor-like look. It can be subtle or wild depending on how you like it.
It saves you time, and money, and is generally more tidy to do in a small space. It gives you more options, like when to add the soda ash.
And, if you use snow, you don’t even have to buy ice cubes. When it comes to tie dye, ice dyeing is the clear winner for me. I hope you’ll try it out if you haven’t already.


